Showing posts with label Living room. Show all posts

Tuesday, December 24, 2013

Right Now

We are two days in to the holiday and I've enjoyed the slow mornings so much already! The children maybe not so much, I had them help me do a marathon house cleaning yesterday and then last night my little guy came down with a fever :(


I have a few projects to show you, one being this buffet that I painted.
I can't seem to find the before picture but you can imagine, dark, speckled brown finish with lots of dings.
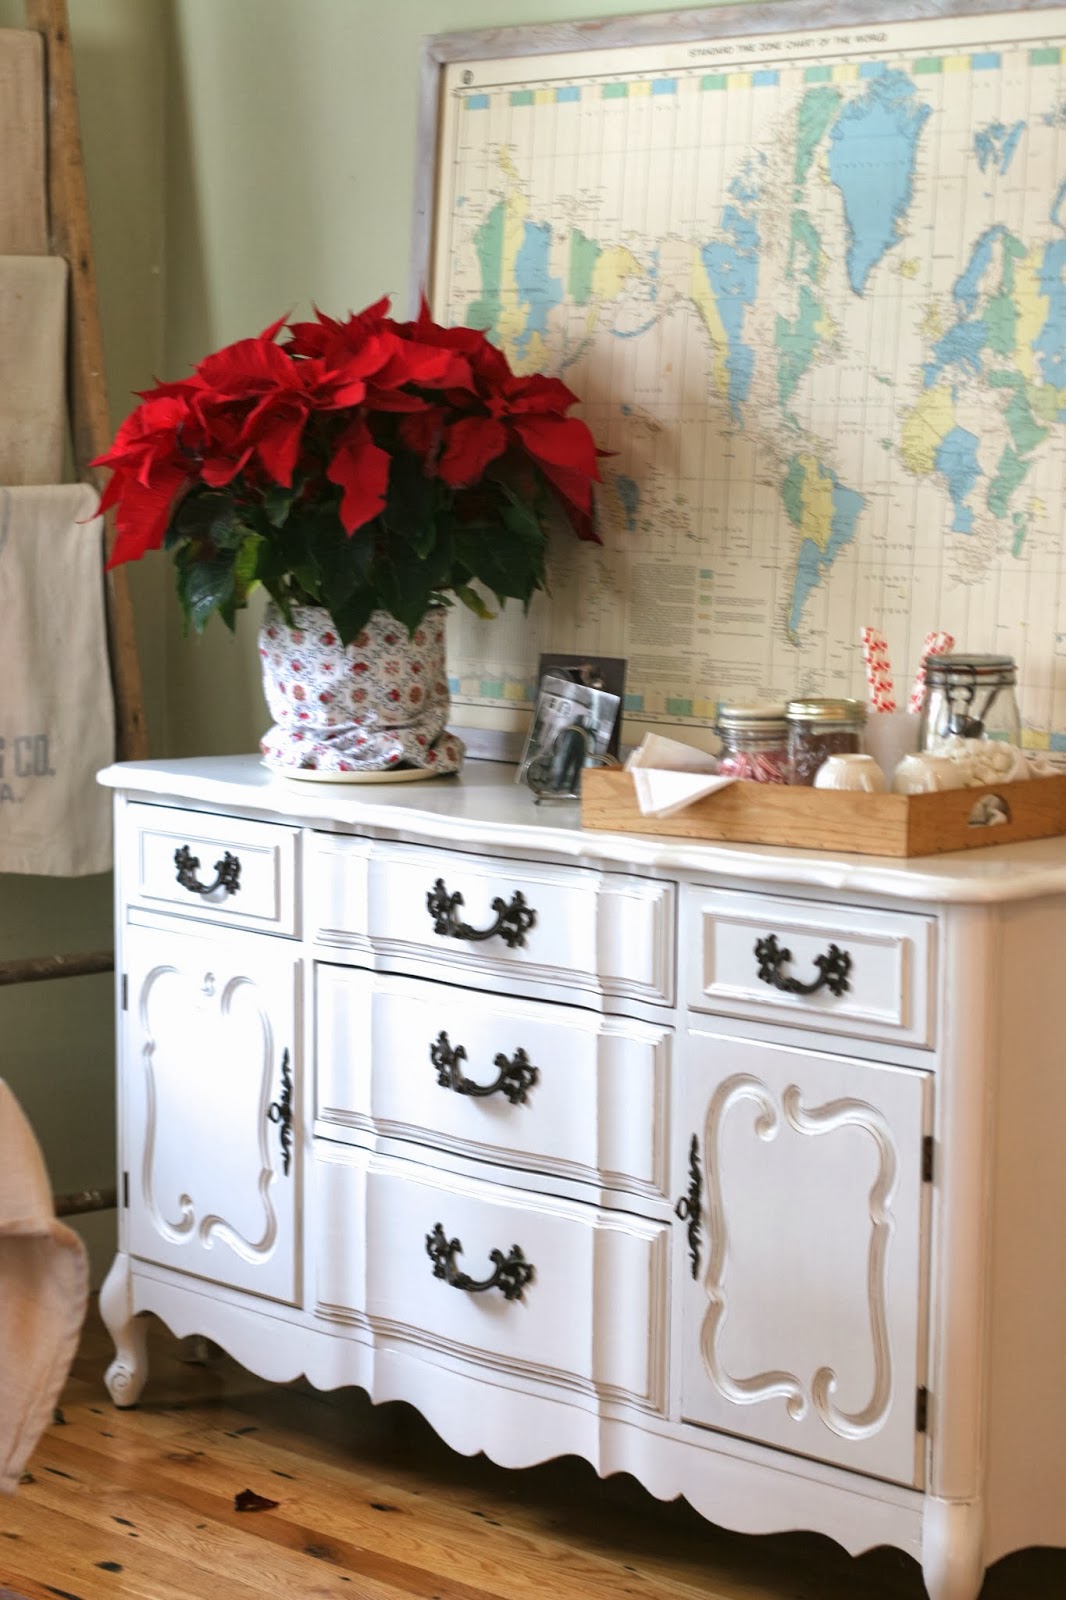


I put my hot chocolate tray on it. This is always a favorite in cold weather!


We are gifted every year with a large poinsettia and this year I decided to stop fighting the red and just go with it. I'm really liking the pops of red for now even though it's not something I want to live with long term.


I found this toast holder? at Goodwill. I like to put old photos or cards in it.


I had fun making this Anthropologie knock-off wreath with my daughter's help. I like it, though it does sort of look like shaggy carpet. :)


I copied this fireplace scene from Pinterest. I can't seem to link to it. Every winter I wish for a real wood fire, this is my make-believe one!


I am re-upholstering my yellow chair. I love the pop of yellow sunshine it brings and will miss that but it was getting too shabby with a hole in the cushion and some stains. 

Our local U-fab store just moved a bunch of their velvets downstairs to the discounted section and I was excited to find a lovely brown velvet for $10 a yard! (They have some really nice browns, grays and beiges for those of you who are local.)

This will be interesting as I've never worked with velvet or a channel back chair before.


The children had fun constructing these reindeer cookies - what would we do without Pinterest inspiration?


See you later...


Friday, October 18, 2013

Around our home...


Hello! Iv'e been enjoying fall lately. The weather is perfect - crisp mostly sunny days and cool nights.

We've been consuming a lot of pumpkin, and decorating with pumpkins also,


My daughter and I made over this little coffee table and I found that chalk paint is perfect for kids to experiment with. If it goes on too heavy, and causes drips and runs, you just sand it off.


I painted my master bath but didn't take any pictures because it looks the same - minus the mildew in the corners. I really hope this does the trick! Oh, here's an old picture,


And, I've been attempting to copy some of this cool chalkboard art that is all over Pinterest. I have really bad handwriting and must copy letter for letter sitting in front of my computer. But I love the finished product!


So, that's some of our highlights the last few weeks, thanks for reading! 


Thursday, June 20, 2013

Yellow Chair

I found this at Goodwill the other day!

It's a little worn and shabby, and the velvet-like material is not of the highest quality, a little fuzzy, but I LOVE it! Just one of those pieces that make me happy to look at.

I've never had any yellow in the living room and I really like the color it adds! Although it totally clashes with the rug... but isn't it pretty with my blue jars?! I may have to reconsider my color scheme...


(Sorry the photo's are so bad, we've had rain and it's always dark.)


Friday, January 4, 2013

My Dressed-Up Chair

I bought her at my Goodwill Store for fifteen dollars while I was deep in the antique sofa project.

She wasn't old enough to be pretty on her own, sort of a french wanna-be, but I thought there was potential. So I guess you could say that I rescued her, gave her a much needed facelift!


I told my husband that I absolutely would not touch the chair until my sofa was done, but one day, I found myself tearing off old fabric. Then he reminded me, and I decided I'd better be good. :)

Now, after being ripped a part for a very long time, her she is!


I used Annie Sloan Chalk Paint in Pure White, followed by clear, and then a mixture of clear and dark wax.

The fabric and gimp are from U-Fab, I love that store!


Here are the "befores"


And "after" 


I'm very happy to be done!!


Friday, October 5, 2012

Sofa Restoration: Part 1


Let me begin with the back story...

We found these leather sofas on Craigslist a couple years ago, and I have to say, leather is by far the most practical thing that I have found for furniture that gets used by children!


But, when my husband mentioned that they weren't comfortable for his back a few times, I started thinking, why not sell them for a little more than I paid, (to cover the hassle of moving them) find an old sofa and redo it!

More back story...

My mother was in the upholstery business for 25 years! And I knew that I would rely on her for help.
I had always wanted to really upholster a piece on my own.


I was determined to sell my set before buying something else so I had to wait quite a while and also let some potential sofa projects go. (Good for teaching me patience!)


So finally I was ready to buy! I found this at a local used/vintage furniture store and I knew I couldn't pass it by!


The down cushion was a plus for me, love that!

The joints were a little wiggly, I was hoping that we could somehow glue them, I thought it would be a simple sofa to do, but projects have a way of growing....

It had been re-upholstered at some point, maybe the 70s?

They did a great job, the padding was good and that made it hard to want to like taking it all off. But my husband said that he would re-glue the frame and I couldn't pass up such a great offer!

I apologize for so many pictures! I took them to help me remember how to put it back together!

On the outside back, under the fabric was a layer of dacron, under that was fabric with strips of webbing under that. 


 By the way, I removed thousands of staples, and gained callouses!


The above picture shows how the seat front was hand sewn on, I'll show more on how to do this.


This is the sofa back, (fallen forward) layers of burlap, horsehair, cotton and dacron.


and here is the back with the padding removed.


 Inside on the frame I found the word "Valbrona" and "hand carved" in several places.
Valbrona seems to be a place in Italy which would make me wonder if it is Italian, but why would the words "hand carved" be in English? If anyone has any ideas, I would love to hear them!


So I stripped this old girl right down to the wood and springs.
The springs were in great shape and I was able to pretty much leave them alone.


 My husband put in a metal brace in the seat and welded a bracket for the back, here he is mixing epoxy glue. We decided to go with epoxy rather than hide glue which was what was used originally. The epoxy was able to do a better job filling in the gaps.


Here is one of the joints reglued. We had the back in pieces! So scary but I'm so glad for his skill!


Next:

Painting and upholstering.

(It starts to get a lot more fun from here on out!)